There are several potential reasons why Windows Defender may become disabled, including malware
infections or conflicts with third-party antivirus software. Here are a few steps you can try to fix the issue:
1.Check for malware: Run a thorough scan using a reliable antivirus software to ensure your system is not infected. If any
malware is detected, follow the antivirus program’s instructions to remove it.

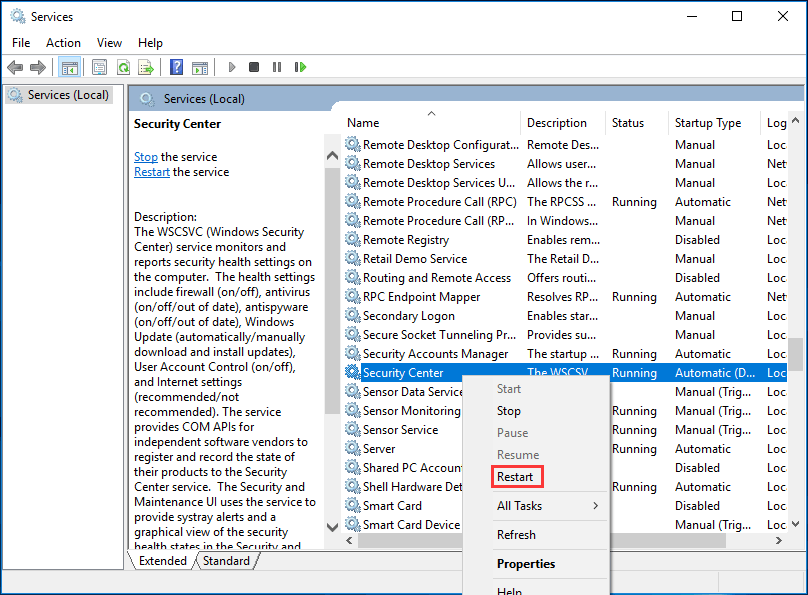
- Restart Windows Defender service:
Press the Windows key + R, type “services.msc”, and hit Enter. In the Services window, locate “Windows Defender
Antivirus Service,” right-click on it, and select “Restart.” This should re-enable Windows Defender. - Remove conflicting software: If you have any other antivirus software installed, it may be conflicting with Windows Defender.
Uninstall the third-party antivirus program and restart your computer. Windows Defender should automatically enable
again. - Update Windows: Outdated Windows versions can sometimes disable Windows Defender. Make sure your Windows
operating system is up to date by going to Settings > Update & Security > Windows Update, and click on “Check for
updates.” - Use Group Policy Editor: Windows Pro and Enterprise editions include the Group Policy Editor, which can
control Windows Defender settings. Open the Group Policy Editor by pressing Windows key + R, typing “gpedit.msc,” and
hitting Enter. Navigate to Computer Configuration > Administrative Templates > Windows Components > Windows Defender
Antivirus. Make sure the “Turn off Windows Defender Antivirus” policy is set to “Not configured” or
“Disabled.” - Use Registry Editor: Press Windows key + R, type “regedit,” and hit Enter. In the Registry Editor,
navigate to HKEY_LOCAL_MACHINE\SOFTWARE\Policies\Microsoft\Windows Defender. If you see a registry key named
“DisableAntiSpyware,” delete it.
Remember to exercise caution when making changes to your computer’s settings and
consult with a professional if you are unsure.